TPMS Tool Software Update Guide
Step 1 - Download Software
- Visit www.bartecautoid.com, click on "Software Updates". After selecting your Bartec tool model you will be transferred to the Bartec Auto ID Support Centre.
- At this point "Log In" with your Account details and go to "My Account" where you can find your registered tools.
- Press on "Download (Required)" and save the latest Software to your PC e.g. your Desktop
- For the Tech400 it is necessary to click on the ‘Programmable Sensors’-link as well. Both files are required.
Step 2 – Put your Tool into Update Mode (do not connect your tool to your computer).
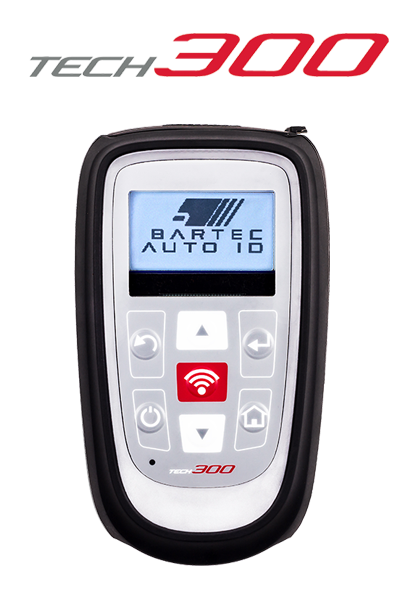
You can put your tool directly into update mode by briefly pressing both the Enter-key and the On/Off-key simultaneously. Alternatively:
Click image to enlarge.
- Turn on your tool.
- Press the Down key to highlight "My Tool" submenu and press the Enter Key.
- Press the Down key to highlight the "Enter Update Mode (TECH300) or Software Updates (TECH500)" submenu and press Enter.
Your tool should now be in the "Update Mode", as illustrated on the right.
- Note that the TECH500 can also be updated via WiFi. Please find the instructions in the TECH500 manual:
www.bartecautoid.com/pdf/tech500sde-user-manual-english.pdf
Step 3 – Plug tool into your Computer
- Connect your tool to the computer via the supplied mini-USB cable.
- Your tool should be recognised by your computer as a removable disk / USB-Drive.
- Select open in your File explorer and click on Computer (This PC).
- In the new window you will find your tool recognised as a "removable disk / USB-Drive".
- Copy and Paste the latest software file (TPMS_UPDATE…MFU) into the "removable disk / USB-Drive" folder.
- Your tool should now start processing the update. The data will be verified and the old software update will be erased.
- The tool will display that the update process has been completed.
- Once your tool has rebooted, you will have the latest software on your tool and the Update Process is complete.
Click image to enlarge.